Tournament Marine & Powersports
Megaware SkegPro Inexpensive Solution To a Damaged
Megaware SkegPro Inexpensive Solution To a Damaged
Couldn't load pickup availability
Stop Damage to Your Motor's Skeg
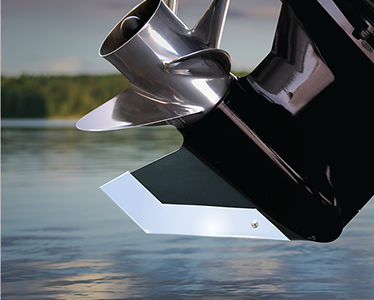
Save Your Skeg and Enhance its Appearance

With

Megaware SkegPro Skeg Protector
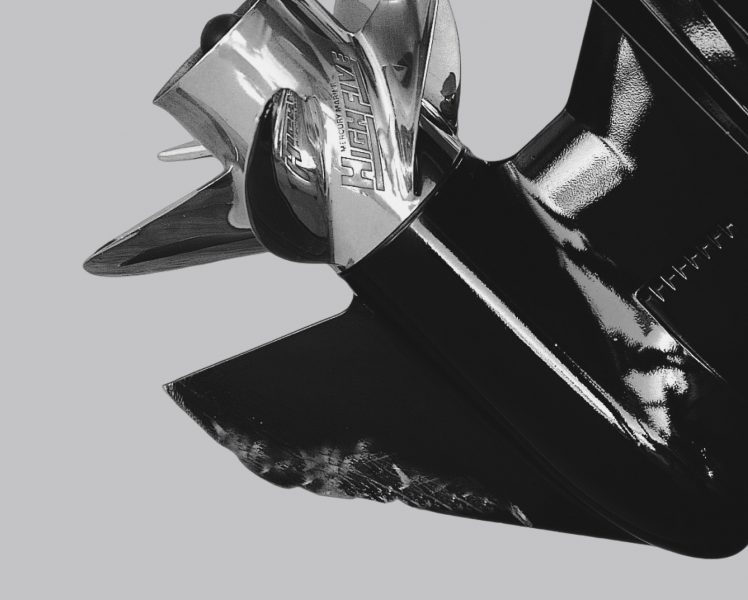
Rocks, sand, debris, and submerged objects can damage your motor’s skeg. Avoid expensive repair costs and provide lasting protection with the Megaware SkegPro. The SkegPro prevents and reduces the amount of wear and abrasion to your skeg’s leading edge. It also reduces the amount of damage to your skeg when hitting minor objects or submerged stumps, rocks, and debris.
SkegPro Engineering
The SkegPro design features a mirror-polished finish enhancing its appearance and creating a custom look for your motor. It conforms to the skeg, ensuring no discernible drag or compromise in the performance of your engine. A drain hole prevents water from collecting, remaining stagnant, and potentially causing damage.
The SkegPro is available for most outboard and Inboard/Outboard (I/O) or Sterndrive engines, including Evinrude, Honda, Mercury, Mercruiser, Mariner, Suzuki, and Yamaha.
SkegPro Installation
Installation is a straightforward 4 step process and takes less than 10 minutes. Additional tools needed are gloves, a mallet (leather, rubber, or wooden), and a 3/16″ drill bit and drill.
Caution: Always wear gloves to prevent injury from cuts when working with this product.
Step 1) Determine Skeg Fitment
Before installing the SkegPro, visually check the fit by holding the SkegPro up against your skeg. If your skeg is damaged or worn, you will have to make some positioning adjustments when seating the SkegPro.
Keep in mind that some models are universal and will overhang from the bottom/back of the skeg or may not fully extend up to the lower gearcase. If you have questions, please call our office before installing the SkegPro
Note: If you have fitment questions, please call our office before installing the SkegPro
Step 2) Prep Your Skeg
Repair any damage to your skeg that will prevent the SkegPro from fitting correctly. Some lower units may have a reinforced wear tab at the bottom of the skeg. This wear tab should be filed flush with the skeg to provide a proper fit. If desired, you can also prime and paint the skeg before installing the SkegPro.
Step 3) Tap the SkegPro into Place
Using a mallet (leather, rubber, or wooden), place the SkegPro on the skeg and gently tap on it to get it started. Then drive it on with the mallet until fully seated into position.
Step 4) Install the Hardware
Using the pre-drilled mounting hole on the SkegPro as a pilot hole, drill into the skeg with the 3/16″ drill bit. Install the stainless steel screw and nylon locking nut.


